Are you looking to do gel nails by yourself to avoid making a trip to the nail salon? With the right tools and patience, you can just DIY it at home. First things first. Nail extension means adding an artificial tip to our original nail end to add length. Then it is covered with acrylic, gel or fiberglass to hold it in place. If you want to give yourself gel extensions, you have come to the right place. Ahead are some quick steps on how to do it.
The gel polish has a similar consistency as hair gel and it is applied on top of your artificial nail extension to strengthen the nail.
Supplies You Need
- Cotton pads
- Cuticle remover liquid
- Nail file
- Rubbing alcohol
- Gel nail polish
- Base coat and top coat
Step By Step Guide On How To Do Your Own Gel Nails
1. Prep Your Nails
File your nails properly and buff them before you start doing anything. It is important to have a proper base. When it comes to making your gel manicure last longer, having smooth nails is important.

2. Putting On The Extensions
Choose the appropriate size of the nail extension. File it if the nail tip is too wide. Next, apply glue on the hollow part of the tip and apply it on your nails. Give it a little pressure to avoid air bubbles
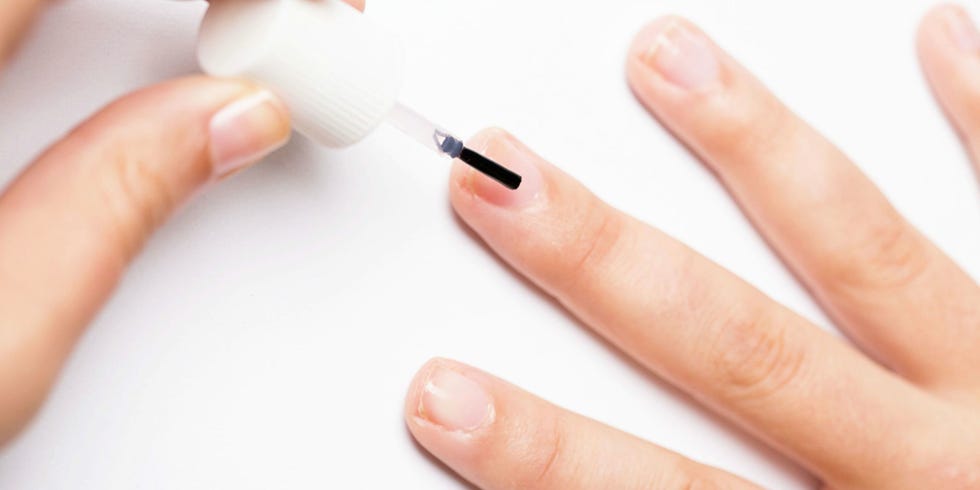
3. Apply Base Coat
This is a crucial step that you cannot skip. Without a base coat, your gel nail simply won’t stick to your nail bed. Evenly apply a thin layer of base coat to the whole nail. Make sure you dry the nail thoroughly. An LED cure lamp is best used for this stage.

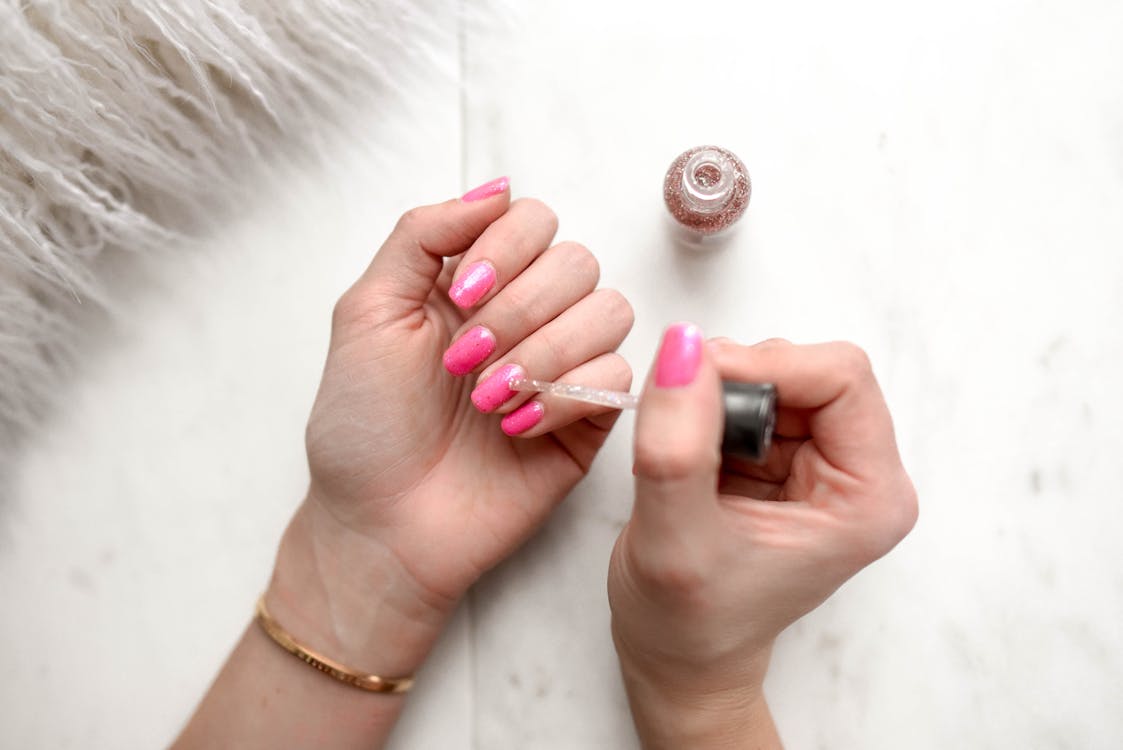
4. Apply Gel Polish
Once the base coat has dried, it is time to do the fun part and that is applying gel polish. Carefully apply a thin layer of gel polish and do this for all your fingernails. Let them dry thoroughly.
5. Apply The Top Coat
Once the color is set, apply the top coat. This will ensure that the cover protects all the work you have done on your nails. It is a good idea to use a light layer of top coat over the colored gel polish and carefully seal the nail tips. This nifty trick will make your polish color last much longer. Next, smooth over the layer and dry them thoroughly.
6. Finale
Soak a cotton pad in rubbing alcohol and rub each nail well. After doing this, you are done!
Follow the above steps and your new gel extensions should last you up to a month. You are not going to be perfect at doing gel nails for the first time so be patient. With the right tools and practice, you are going to be a pro in this very soon.


